Sensbot for Shoper – Installation & Setup Guide
Enhance your Shoper store with an intelligent AI chatbot using Sensbot. Follow these steps to install and configure it.🎥 Video Installation Guide
For a visual walkthrough of the installation process, watch our comprehensive video guide:💡 Pro Tip: You can follow along with the video while installing, or use the step-by-step guide below for detailed instructions.
✅ Step 1: Access the Shoper App Store
- Log in to your Shoper admin panel.
- Navigate to the “Dodatki i integracje” (Add-ons and integrations) tab on the left sidebar.
- From the dropdown list of options, select “Aplikacje” (Applications).
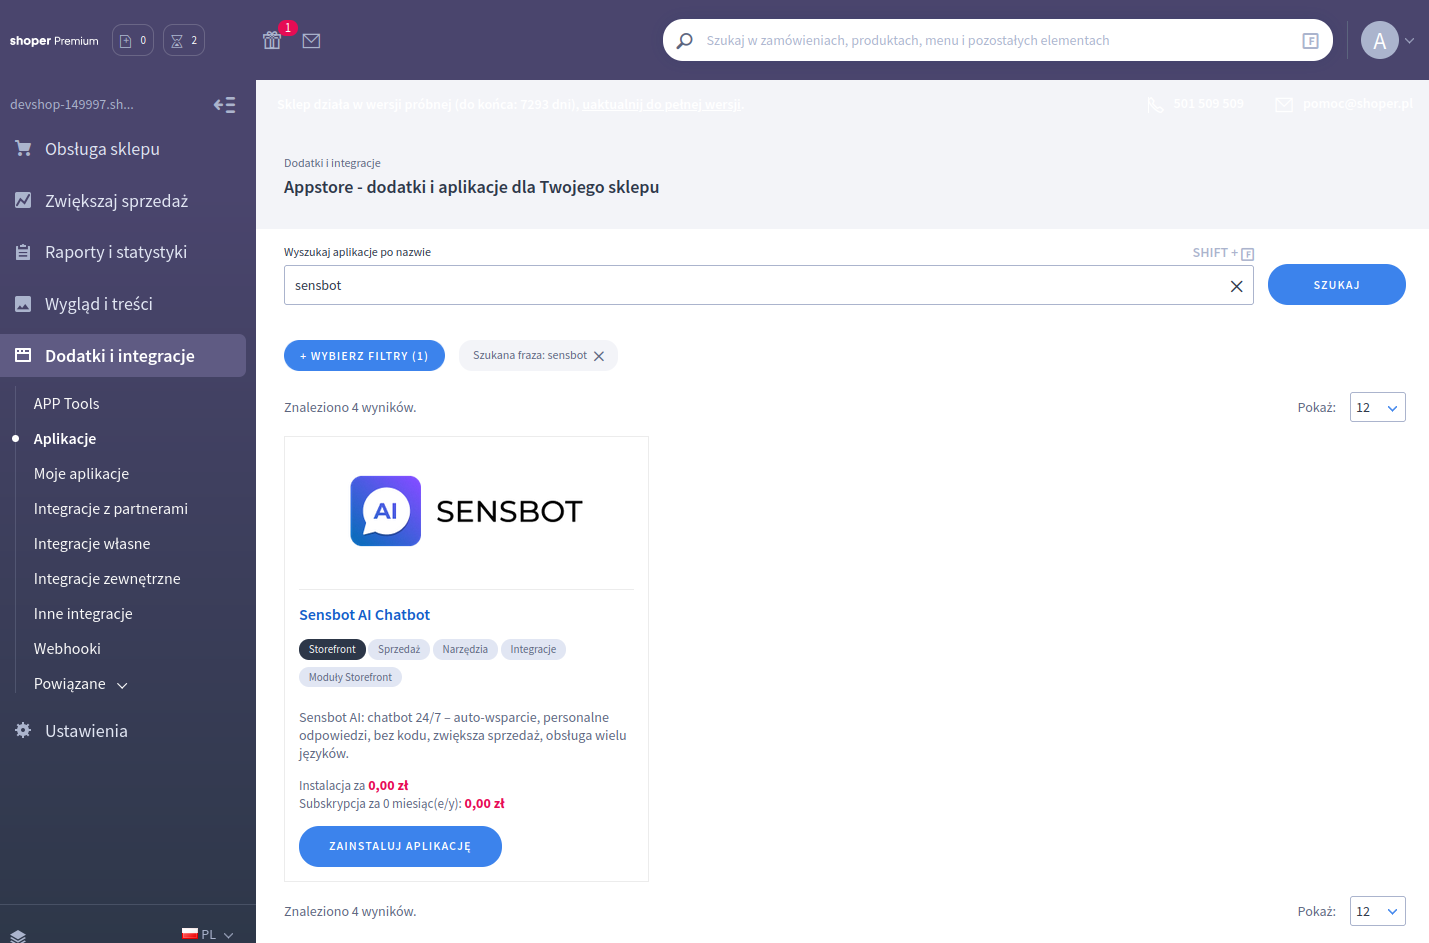
✅ Step 2: Find and Select Sensbot AI Chatbot
- In the upper search bar, type: Sensbot AI Chatbot.
- Locate Sensbot AI Chatbot in the search results.
- Click on Sensbot AI Chatbot to open the detailed information page.
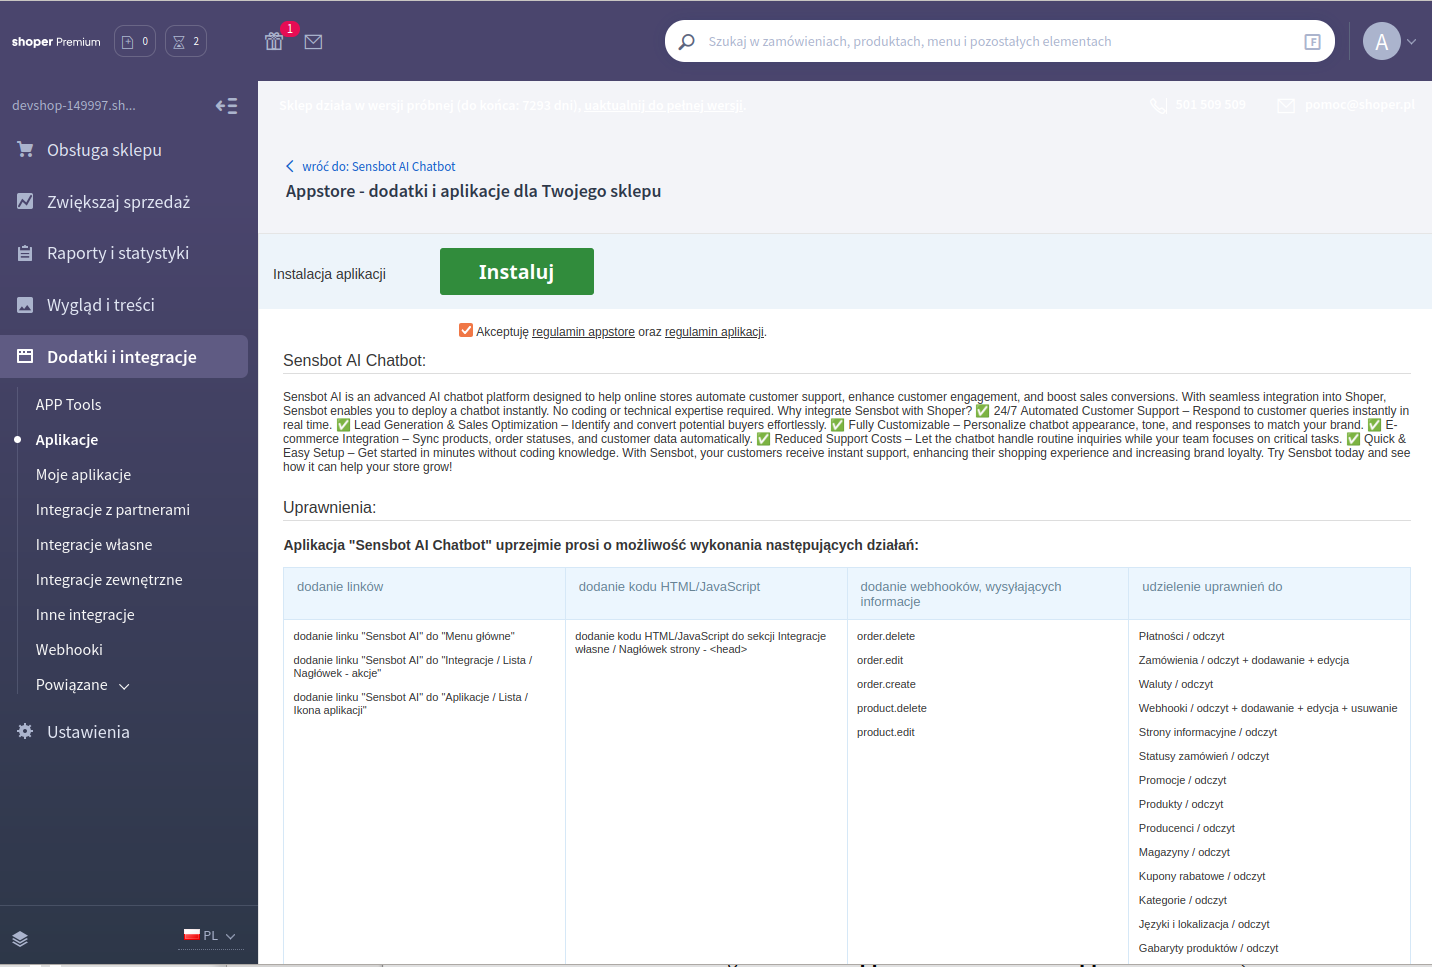
✅ Step 3: Install the Sensbot AI Chatbot Plugin
- On the plugin page, click the “Zainstaluj aplikację” (Install application) button located on the right side.
- You will be redirected to the installation confirmation page.
- Review the terms and conditions and plugin permissions for Sensbot AI Chatbot.
- Check the consent boxes for “Regulamin appstore” (App Store Terms) and “Regulamin aplikacji” (Service Terms).
- Click “Instaluj” (Install - green button) to begin the installation.
- Wait for the system to complete the installation. Once finished, the plugin will be ready to use.
✅ Step 4: Access the Plugin
- After installation is complete, an option “GO TO SENSBOT AI CHATBOT” will appear on the plugin page.
- Click the “GO TO SENSBOT AI CHATBOT” button.
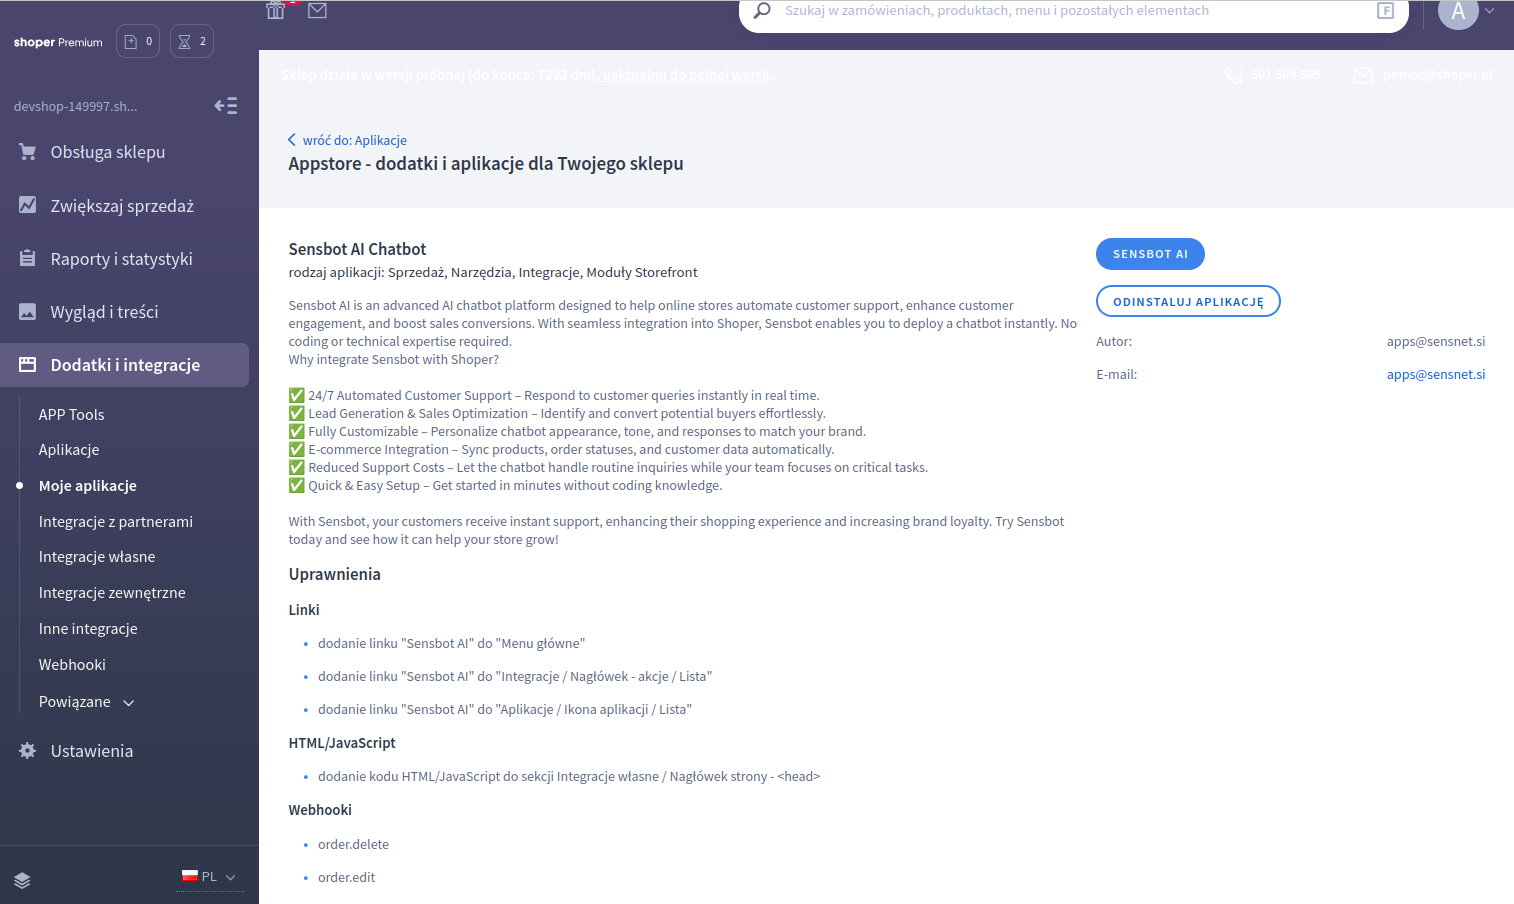
✅ Step 5: Open Sensbot Admin Page
- Navigate to “Dodatki i integracje” → “Moje Aplikacje” (My Applications).
- Click on the Sensbot AI app.
- Click the Sensbot AI Chatbot blue button to open the admin interface.
✅ Step 6: Start Data Synchronization
- Click “Przejdź do Sensbot AI Chatbot” (Go to Sensbot AI Chatbot) at the bottom of the page.
- Sensbot AI will automatically begin synchronizing your store data and generating a personalized AI chatbot for your e-commerce store.
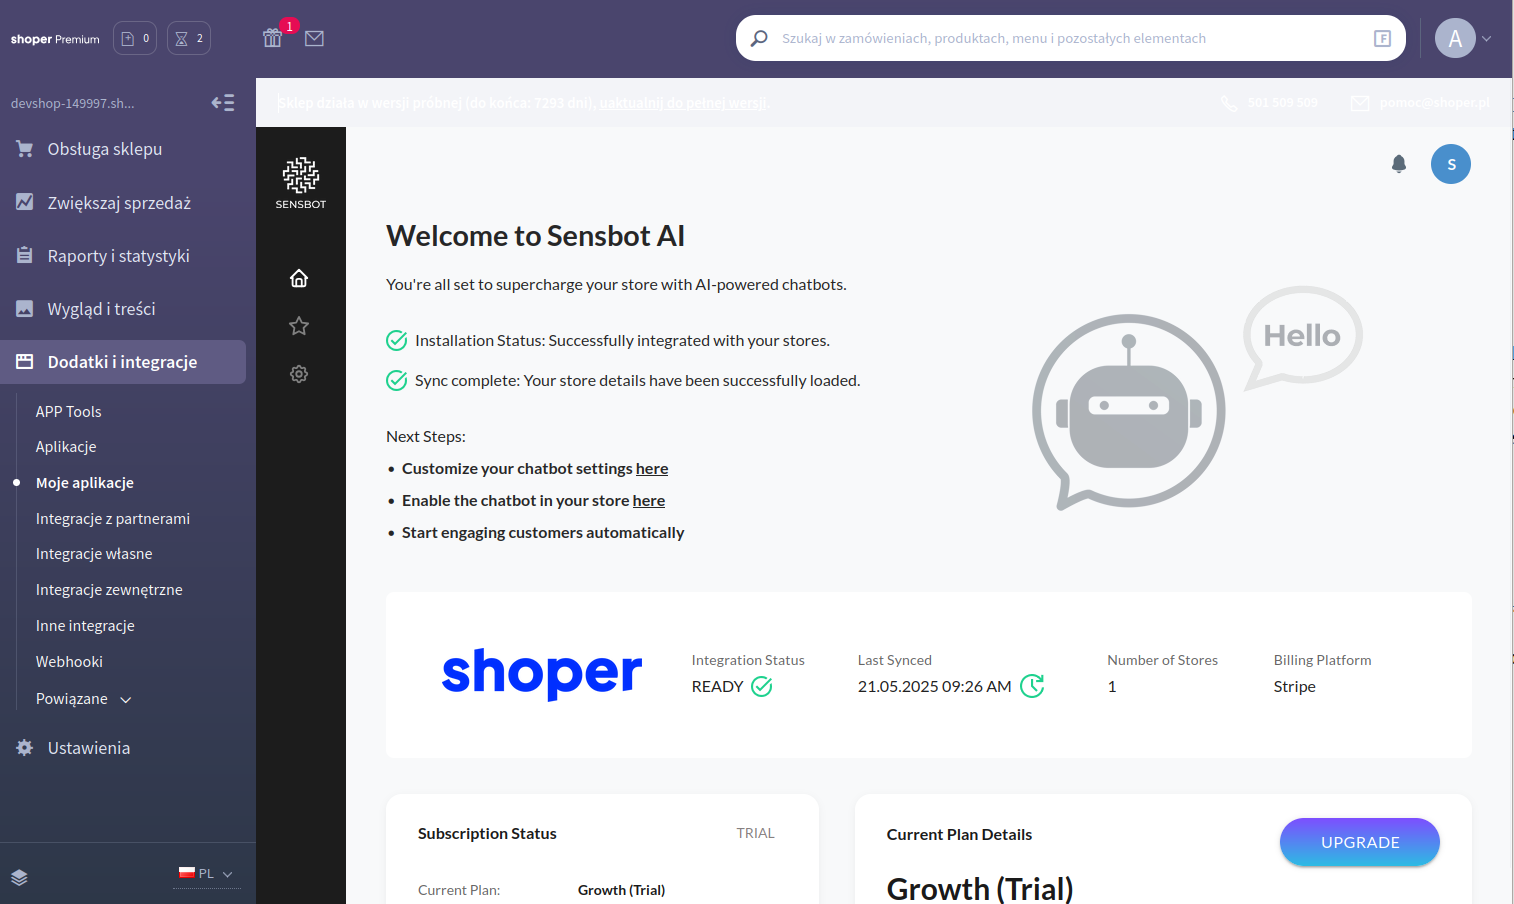
✅ Step 7: Configure Your Chatbot
- The Sensbot app will open with a welcome dashboard showing your integration status.
- Sensbot automatically adds common web pages to your knowledge base.
- You can add additional files or web pages to expand your knowledge base.
- Navigate to the “Settings” tab to customize your chatbot’s appearance and behavior.
✅ Step 8: Finalize Chatbot Configuration
- In the Sensbot app, customize your AI chatbot’s:
- Knowledge base: Add relevant web pages or upload documents (PDF, Word, TXT).
- Style & appearance: Tailor the look and feel to match your brand.
- Behavior & tone: Adjust how the bot communicates with your customers.
- Click Save Settings when you’re done.
💡 You can revisit and refine these settings at any time.