Outlook on the web – Installation
The Sensbot AI add-in for Outlook on the web drafts AI replies to customer emails directly inside Outlook, using your real store data such as orders, products, and shipping status. It appears in the same Outlook add-ins toolbar and shows the identical Sensbot AI panel as the classic desktop add-in.This procedure also applies to the new Outlook for Windows — the new desktop app uses the same web add-in. Follow these steps whether you use Outlook in a browser or the new Outlook for Windows app. The classic desktop installer is only for the older classic Outlook.Not sure which app you have? Check the icon — Outlook (classic) on the left, the new Outlook on the right: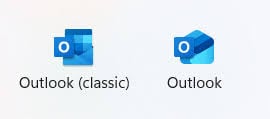
- Business / work account (Microsoft 365) — your administrator installs it once for everyone. See Path A.
- Personal account (Outlook.com / free) — you install it yourself. See Path B.
Path A · Business / Microsoft 365 (administrator install)
This path is for a Microsoft 365 global administrator. It deploys the Sensbot panel to your organization so it appears automatically in your users’ Outlook, with no per-user installation.Installing the panel is separate from connecting the mailbox Sensbot drafts replies for. If you use a shared mailbox (like
info@yourstore.com), or you hit a “Need admin approval” screen when connecting, see Microsoft 365 Setup.Before you start
- You need to be a Global administrator (or Office Apps admin) in Microsoft 365.
- Your users must have Exchange Online mailboxes (any Microsoft 365 Business or Enterprise plan).
Step 1 · Open Integrated apps
- Go to the Microsoft 365 admin center: https://admin.microsoft.com
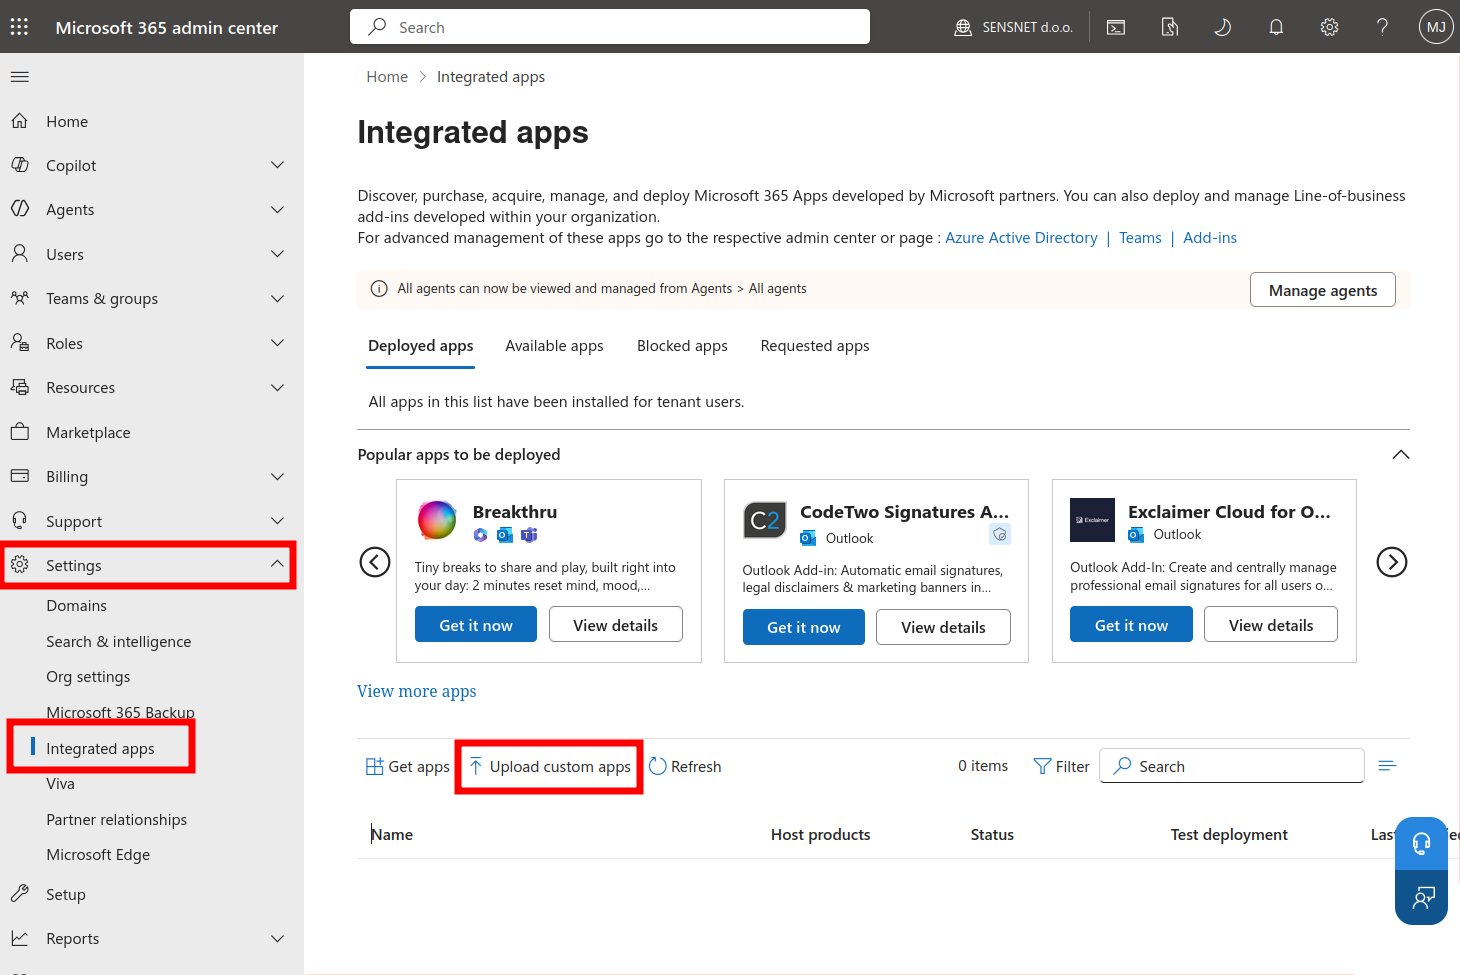
- In the left menu, select Settings, then Integrated apps.
- Select Upload custom apps.
Step 2 · Add the Sensbot manifest
- For App type, choose Office Add-in.
- Choose Provide link to manifest file.
-
Paste the manifest link:
- Select Validate, then Next.

Step 3 · Choose who gets it
On the Add users page, choose one of:- Just me — to test on your own mailbox first (recommended for the first run).
- Specific users/groups — for a pilot group or a department.
- Entire organization — for everyone.
Step 4 · Accept permissions and deploy
- Review the requested capabilities (read the current message and create a reply) and select Next.
- Review the summary and select Finish deployment, then Done.
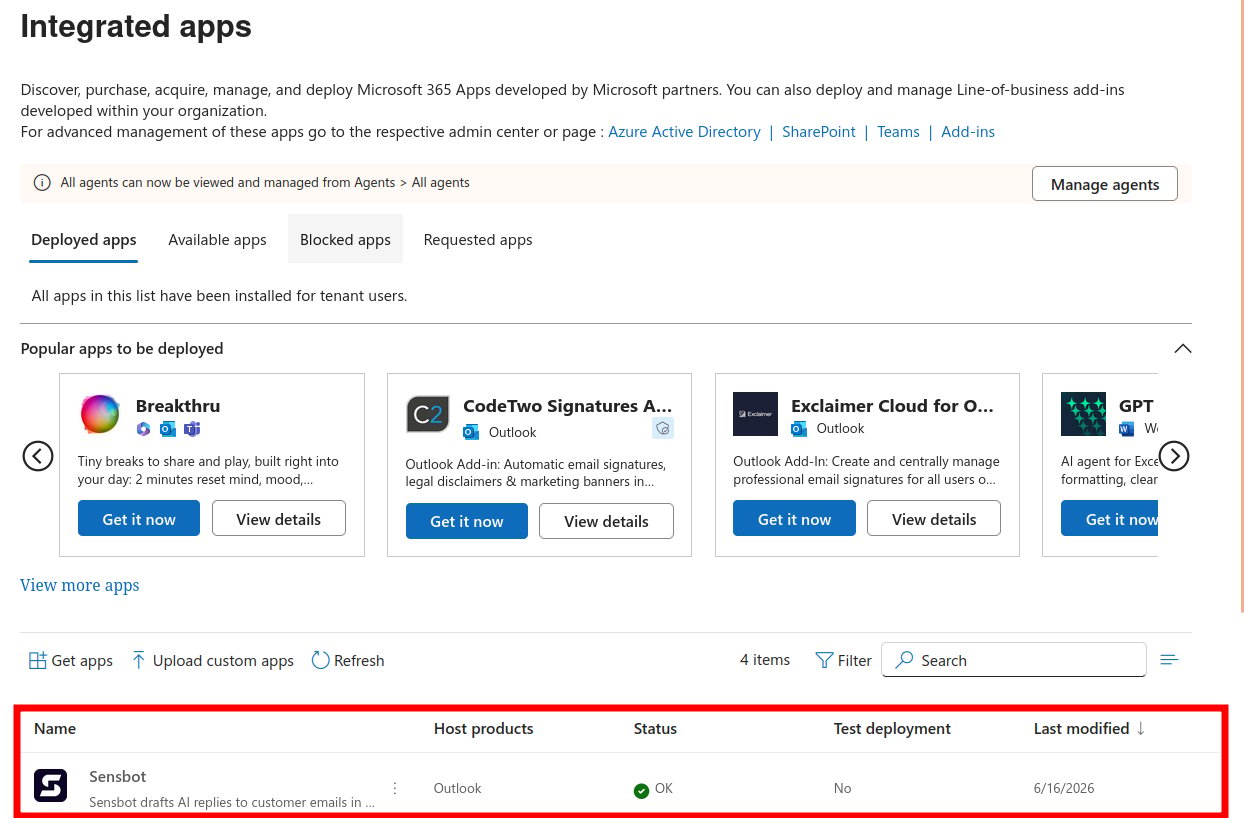
Step 5 · Wait for it to appear
- Deployment reaches users automatically. This usually takes a few minutes, and in some cases .
- Ask users to fully restart Outlook once, or to sign out and back in to Outlook on the web.
Path B · Personal account (Outlook.com / free)
On a personal Outlook.com account you add Sensbot yourself by downloading the manifest file and uploading it.Step 1 · Download the manifest file
- Open this link in your browser: https://platform.sensbot.ai/outlook/manifest.xml
- Save the page to your computer as manifest.xml (right-click, then Save as).
Step 2 · Open the custom add-in dialog
- In Outlook, open or select any email.
- Open the add-in picker and select Get add-ins (you may find it under the … more actions menu).
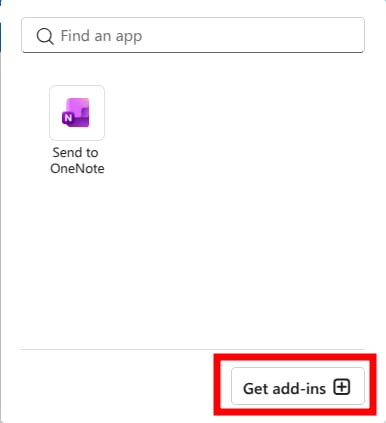
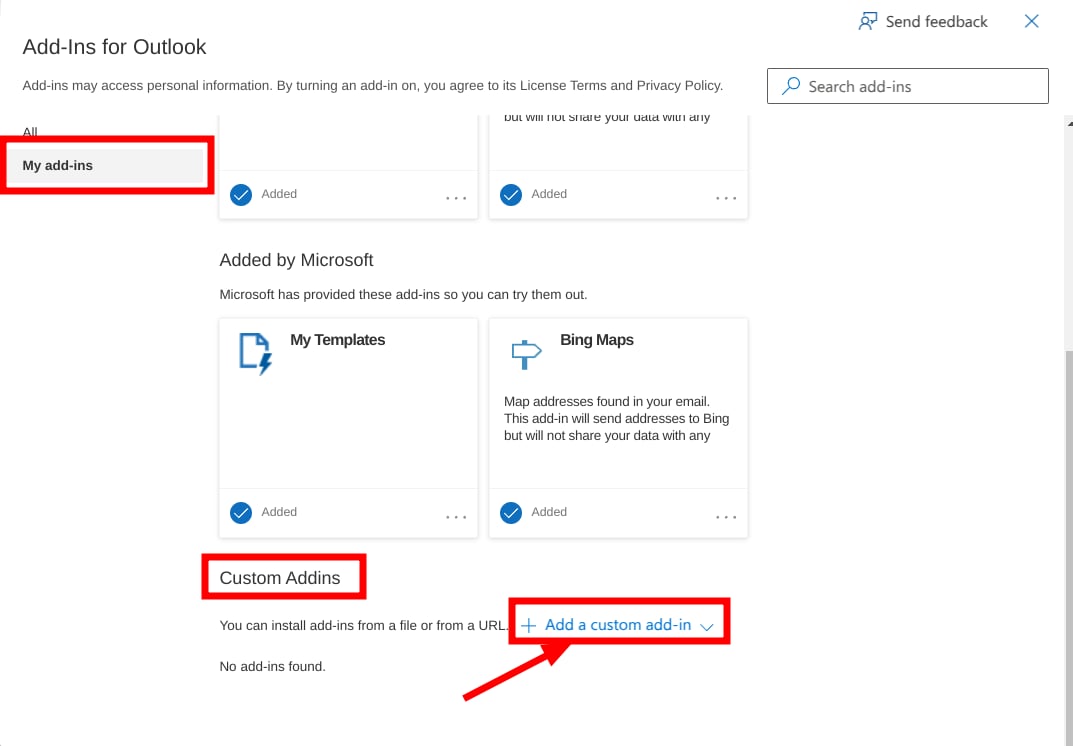
- Select the My add-ins tab.
- Scroll down to Custom Addins.
- Select Add a custom add-in, then choose Add from file and select the manifest.xml you downloaded in Step 1.
Step 3 · Confirm
- Accept the prompt to install the add-in.
- The Sensbot button now appears on the ribbon.
Troubleshooting
The Sensbot button appears but nothing happens when clicked (business accounts)
This is almost always caused by optional connected experiences being turned off in your tenant. Sensbot loads its interface over the internet, which requires this setting. Enable it one of these ways:- Per user (Outlook on Windows): File → Office Account → Account Privacy → Manage Settings. Turn on optional connected experiences, then restart Outlook.
- For the organization (admin): In the Microsoft 365 Apps admin center (https://config.office.com), open Customization → Policy Management, and enable Allow the use of additional optional connected experiences in Office.
The button does not appear yet
- Fully restart Outlook, or sign out and back in to Outlook on the web.
- For business accounts, allow for the deployment to reach everyone.
Updating the add-in later
- Business: repeat Path A · Step 2 with the same manifest link.
- Personal: remove and re-add it (Path B).
Removing the add-in
- Business: Microsoft 365 admin center → Settings → Integrated apps, select Sensbot, then Remove.
- Personal: Get Add-ins → My add-ins, find Sensbot under Custom Add-ins, then remove it.