> ## Documentation Index
> Fetch the complete documentation index at: https://docs.sensbot.ai/llms.txt
> Use this file to discover all available pages before exploring further.
# IdoSell Email Assistant Installation
> Sensbot IdoSell Email Assistant – Installation & Setup Guide
# Sensbot for IdoSell Email Assistant – Installation & Setup Guide
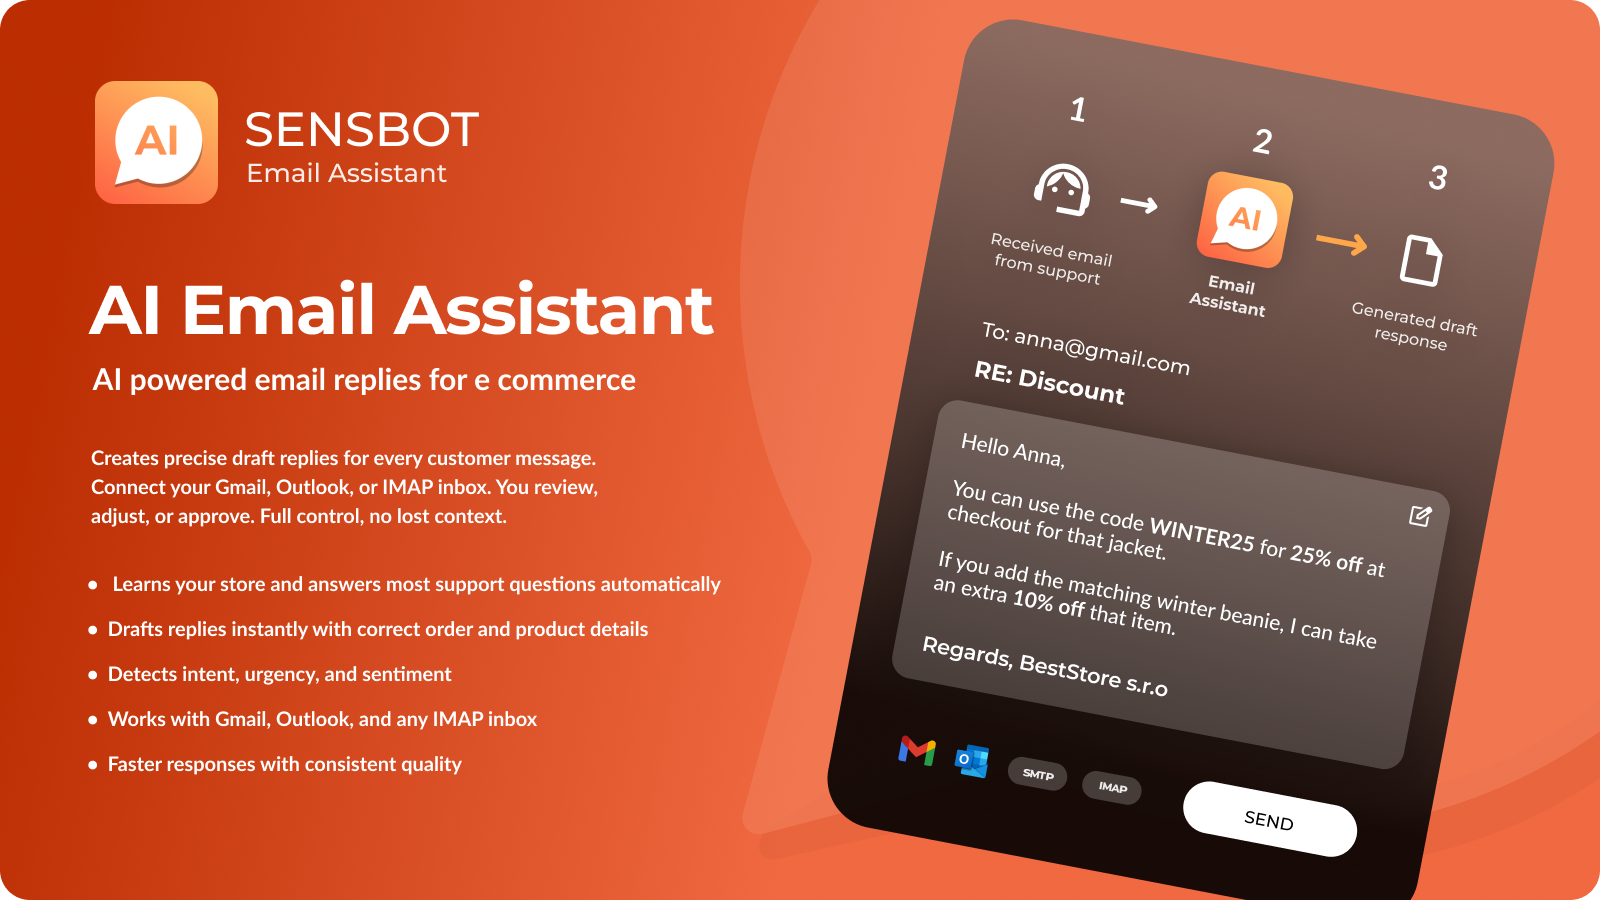
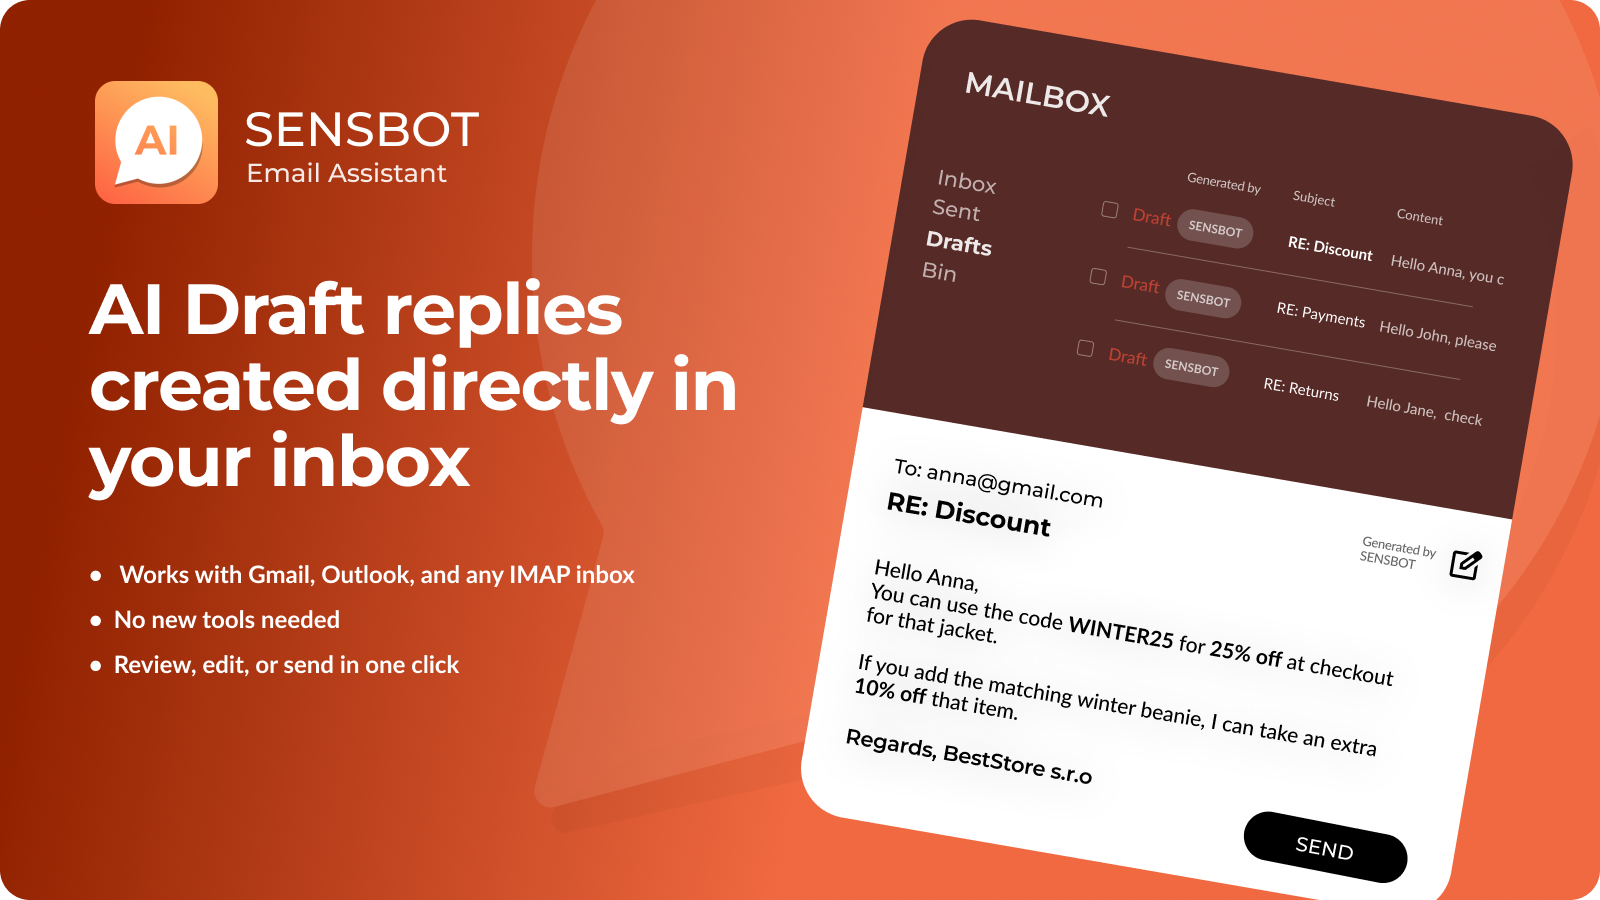
Bring intelligent AI-powered email assistance to your IdoSell store with the Sensbot Email Assistant. Follow these steps to install and configure it.
 ***
## ✅ Step 1: Install Sensbot from the Apps Section
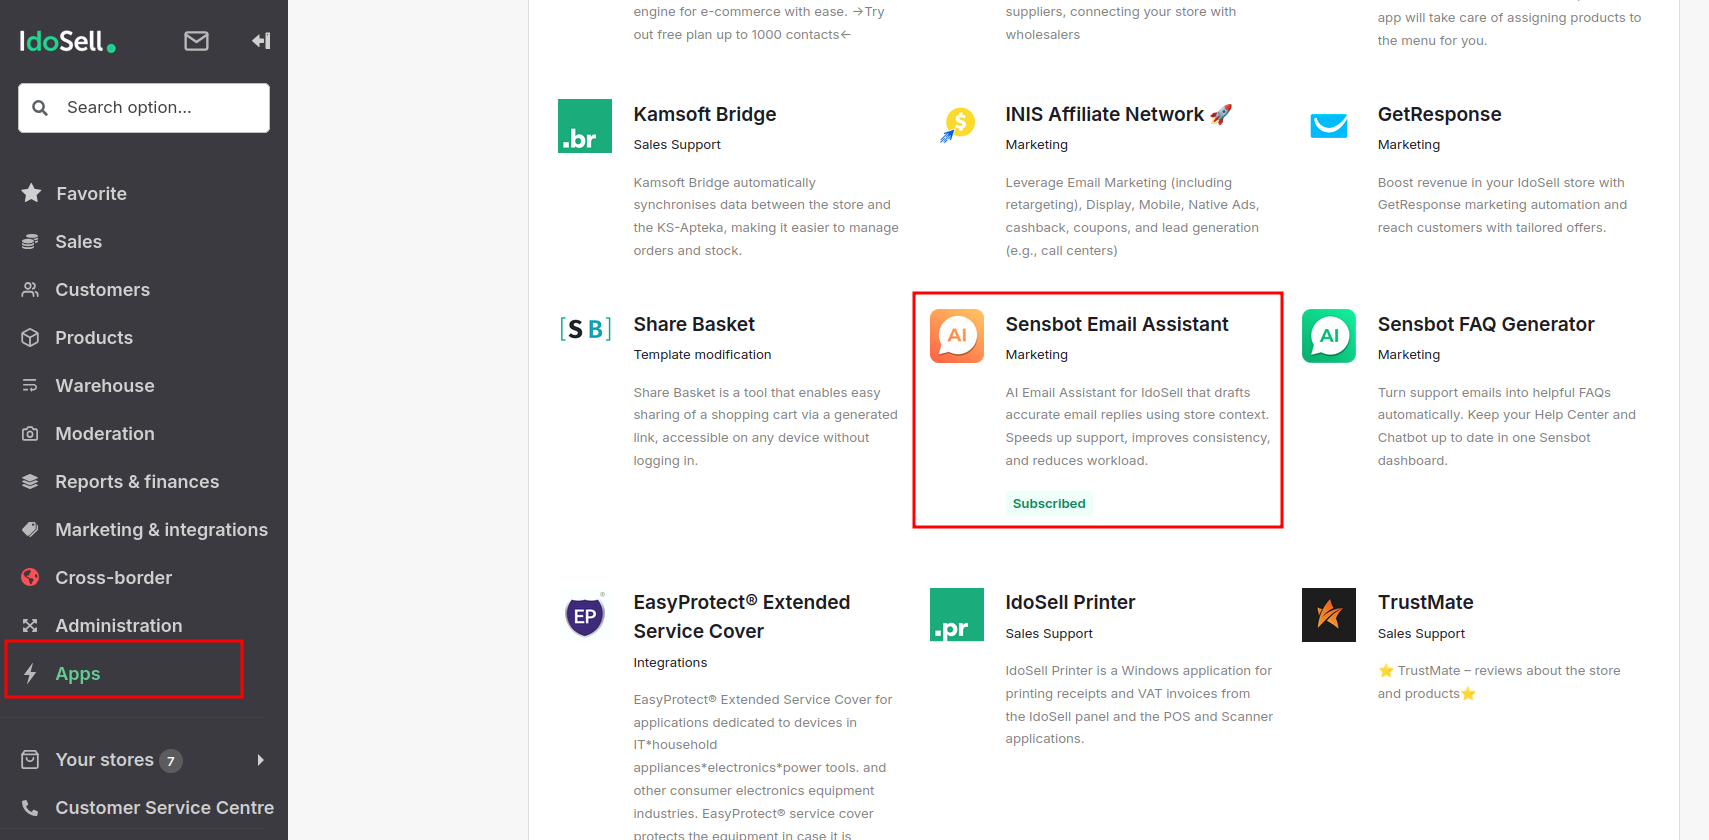
1. In your IdoSell admin panel, go to **Apps**.
2. Search for **Sensbot AI** in the list.
3. Click **Install** and follow the prompts.
***
## ✅ Step 1: Install Sensbot from the Apps Section
1. In your IdoSell admin panel, go to **Apps**.
2. Search for **Sensbot AI** in the list.
3. Click **Install** and follow the prompts.
 ***
## ✅ Step 2: Open Sensbot Settings
1. After installation, go to **Customers > Sensbot Email Assistant**.
2. The Sensbot settings panel will open (in an embedded view).
3. Under your store name (e.g., "test-store.com"), you will see a new **"Email Assistant"** tab next to the chatbot settings.
> ⏳ **Note:** Sensbot will begin syncing your store's products and orders. This may take a few minutes for small stores and up to a few hours for large stores, depending on the number of products and orders. You can proceed with configuration while syncing continues in the background.
***
## ✅ Step 3: Connect Your Email Account
1. Click on the **"Email Assistant"** tab.
2. Connect your email account:
* **Gmail**: Log in and confirm access permissions.
* **Outlook**: Log in and confirm access permissions.
* **IMAP/SMTP**: Enter your email server settings.
> 💡 **Supported Email Providers:** Sensbot Email Assistant works with Gmail, Outlook, and any IMAP/SMTP inbox. We also support connecting some helpdesk platforms. Please contact us at [support@sensbot.ai](mailto:support@sensbot.ai) for more information.
***
## ✅ Step 4: Configure Email Assistant Settings
Configure auto reply rules, writing style, and email structure in the Email Assistant tab. For full details, see [Email Assistant Configuration](/customization/email-assistant).
***
## 🎉 Done!
Sensbot Email Assistant is now live and ready to help your team respond to customer emails efficiently.
Need help? Contact us at [support@sensbot.ai](mailto:support@sensbot.ai).
***
## ✅ Step 2: Open Sensbot Settings
1. After installation, go to **Customers > Sensbot Email Assistant**.
2. The Sensbot settings panel will open (in an embedded view).
3. Under your store name (e.g., "test-store.com"), you will see a new **"Email Assistant"** tab next to the chatbot settings.
> ⏳ **Note:** Sensbot will begin syncing your store's products and orders. This may take a few minutes for small stores and up to a few hours for large stores, depending on the number of products and orders. You can proceed with configuration while syncing continues in the background.
***
## ✅ Step 3: Connect Your Email Account
1. Click on the **"Email Assistant"** tab.
2. Connect your email account:
* **Gmail**: Log in and confirm access permissions.
* **Outlook**: Log in and confirm access permissions.
* **IMAP/SMTP**: Enter your email server settings.
> 💡 **Supported Email Providers:** Sensbot Email Assistant works with Gmail, Outlook, and any IMAP/SMTP inbox. We also support connecting some helpdesk platforms. Please contact us at [support@sensbot.ai](mailto:support@sensbot.ai) for more information.
***
## ✅ Step 4: Configure Email Assistant Settings
Configure auto reply rules, writing style, and email structure in the Email Assistant tab. For full details, see [Email Assistant Configuration](/customization/email-assistant).
***
## 🎉 Done!
Sensbot Email Assistant is now live and ready to help your team respond to customer emails efficiently.
Need help? Contact us at [support@sensbot.ai](mailto:support@sensbot.ai).